
Windows are an essential part of any home. They allow natural light to enter and provide views of the outdoors. However, due to their exposure to the elements, window sills can eventually rot, decay and require repair. Ignoring a rotten window sill can lead to further water damage, mold growth and other problems. Thankfully, repairing a rotten window sill is a doable home improvement project for most DIYers.
With the right materials and proper technique, you can repair and rebuild rotten sections to restore your window sill to like-new. This article provides a step-by-step guide to repairing a rotten window sill independently.
Assessing the Damage
The first step is to thoroughly examine the window sill and identify rotten, decayed or water damaged areas. Look for signs of:
- Discolored or dark wood
- Sections that seem soft, punky or spongy when pressed
- Flaking, cracked or peeling paint
- Small holes or depressions
- Mushroom-like wood growths
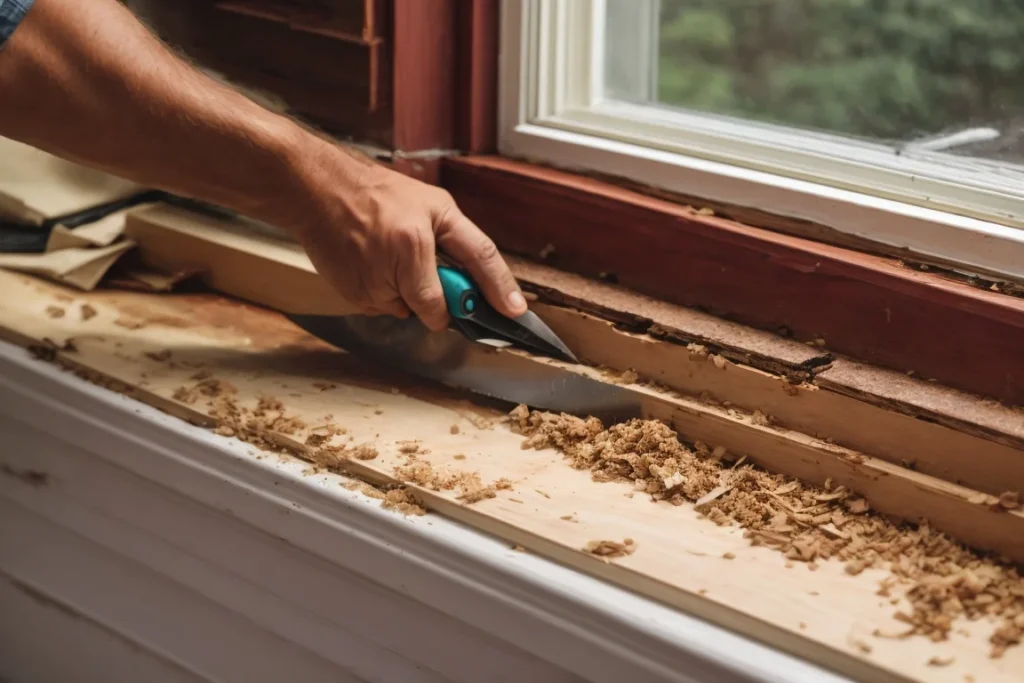
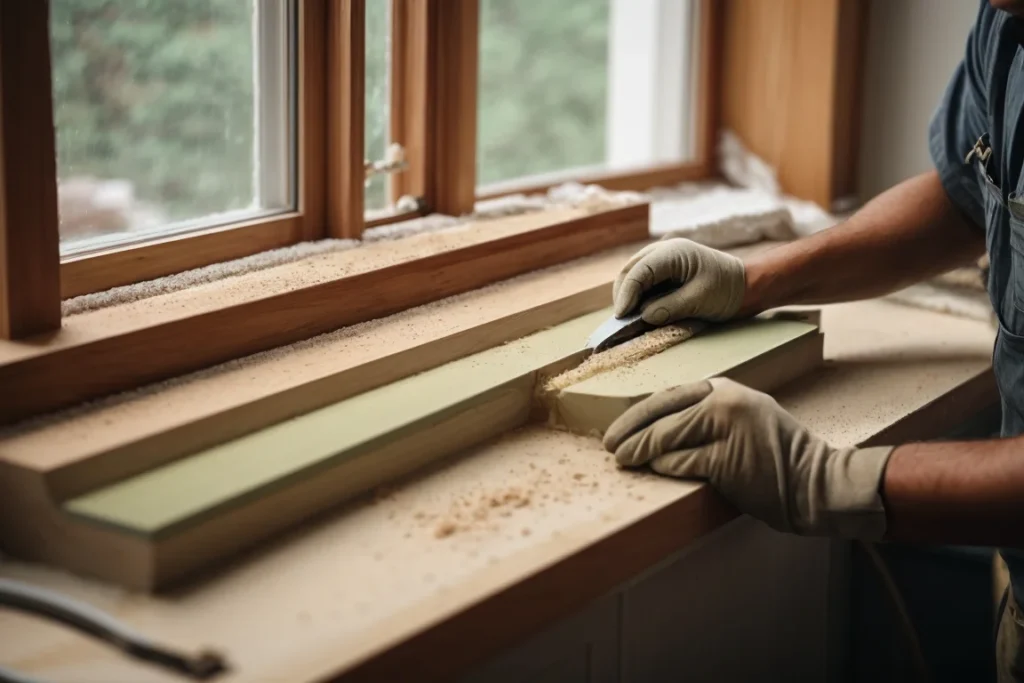
Use a probe, awl or screwdriver to test wood solidity. Healthy sills will be hard while rotten areas will penetrate easily. If there is any loose material, scrape it away with a putty knife or wire brush.
Remove any detached pieces to see the extent of the rot and decay. This also eliminates any loose sections that could break off later. Use a utility knife, oscillating tool or saw to cut away loose parts carefully. Wear proper safety gear like gloves and eye protection when scraping or cutting.
If there are areas where the wood is still fairly solid, you may be able to salvage these sections. Wood hardeners can solidify and strengthen wood that has begun rotting but still has some integrity. Products like Abatron LiquidWood work great for this. Brush the hardener into soft or spongy areas following the product directions. Let it soak in fully and harden the wood.
Full replacement will be required for completely rotten, decayed and crumbling wood. Inspect adjoining areas to ensure the rot does not extend beyond the damaged sections. Tracing the rot to its full extent is crucial for a complete repair.
Removing the Damaged Sill
Once you have identified all the rotten parts, begin by removing the damaged sections of the window sill. Use the following steps:
1. Outline the Removal Area
Take a straight edge and utility knife to score a cutting line around the perimeter of the rotted area. This outlined area will be cut out and replaced. Extend the outline at least 2 inches into solid wood to ensure you get all the deterioration.
2. Protect the Window and Walls
Cover the glass window panes with painter’s tape to prevent scratching. Tape up the wall surfaces as well for a cleaner work area. Place a drop cloth under the sill.
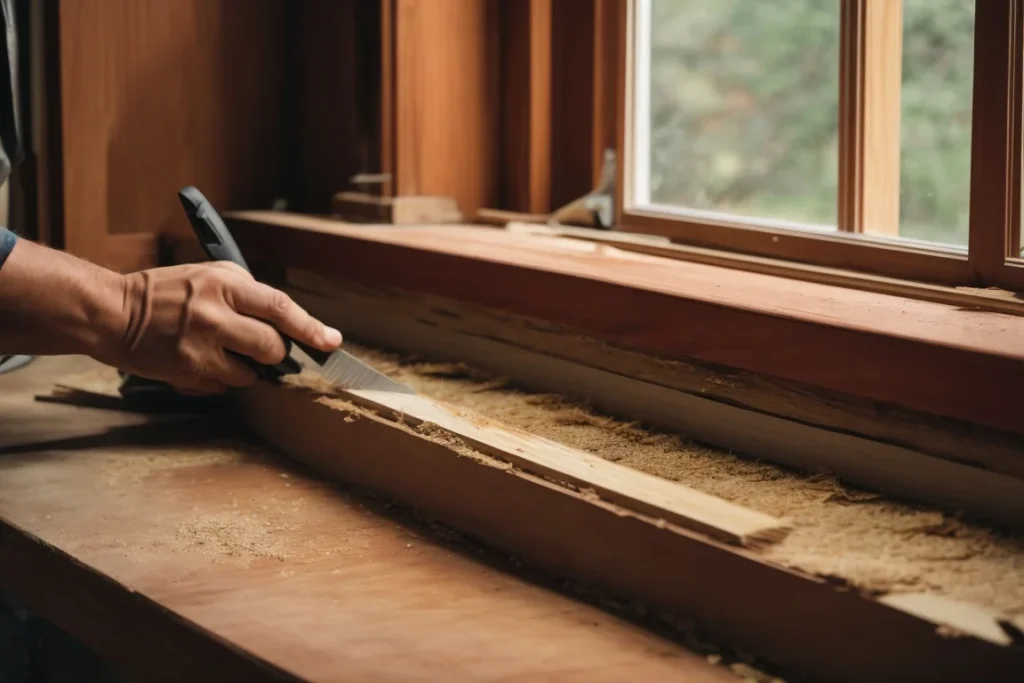
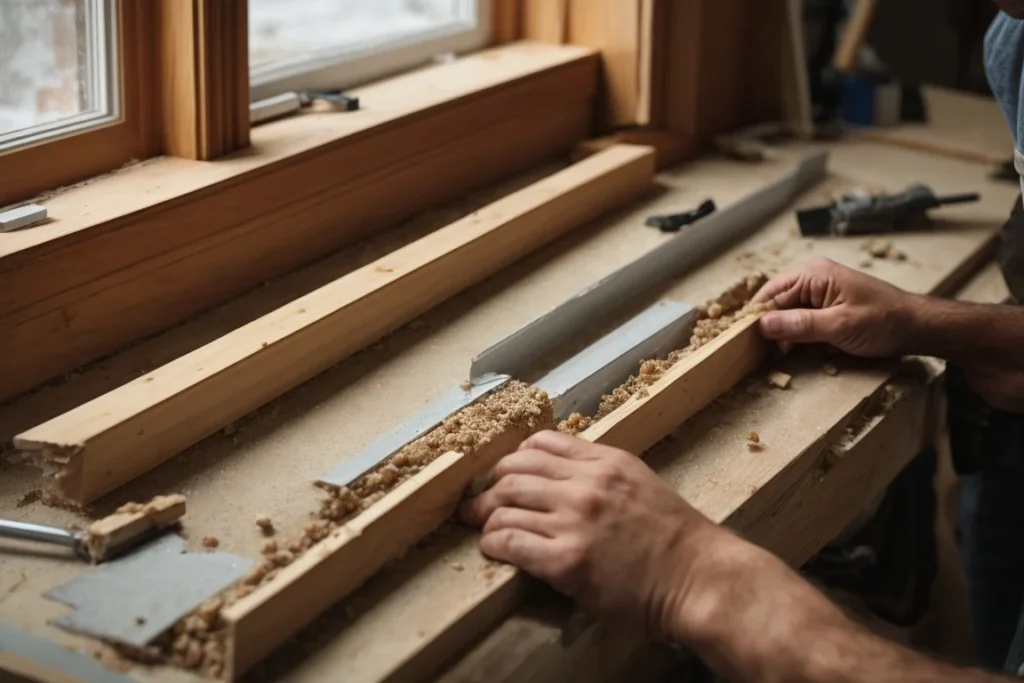
3. Cut Out the Rotten Section
Use a jigsaw, oscillating tool or handsaw to cut out the marked area by following your outlined cutting line. Make the cuts just outside the line to leave a little extra wood to trim. Wear safety glasses to protect your eyes from flying debris.
Take your time with this step to get a clean removal of the entire damaged section. You may need to cut relief from the top or sides to remove large sill pieces. Remove all loose material when done.
Preparing the Sill for Repair
With the rotten sections cut out, the window sill should now have open cavities where the wood was removed. To prepare for repairs, you need to shape and clean these areas.
1. Trim and Square the Cavity
Use a sharp wood chisel to square off the cavity and trim any jagged edges. The opening should have clean 90 degree angles around the perimeter. A wood rasp or file can help smooth the transitions.
2. Vacuum and Clean Surface
Thoroughly vacuum out all wood bits, dust and debris from the cavity and surrounding sill. You want a completely clean surface for the repair filler and patches to adhere properly.
3. Treat Exposed End Grain
Brush wood preservative or primer onto any revealed end grain at the edges of the cavity. This seals the vulnerable end grain and prevents moisture absorption leading to future decay.
The prepared cavity is now ready to be filled and rebuilt.
Filling Cavities and Holes
There are several wood filler options when rebuilding window sill cavities. The product you use depends on the size of the repair.
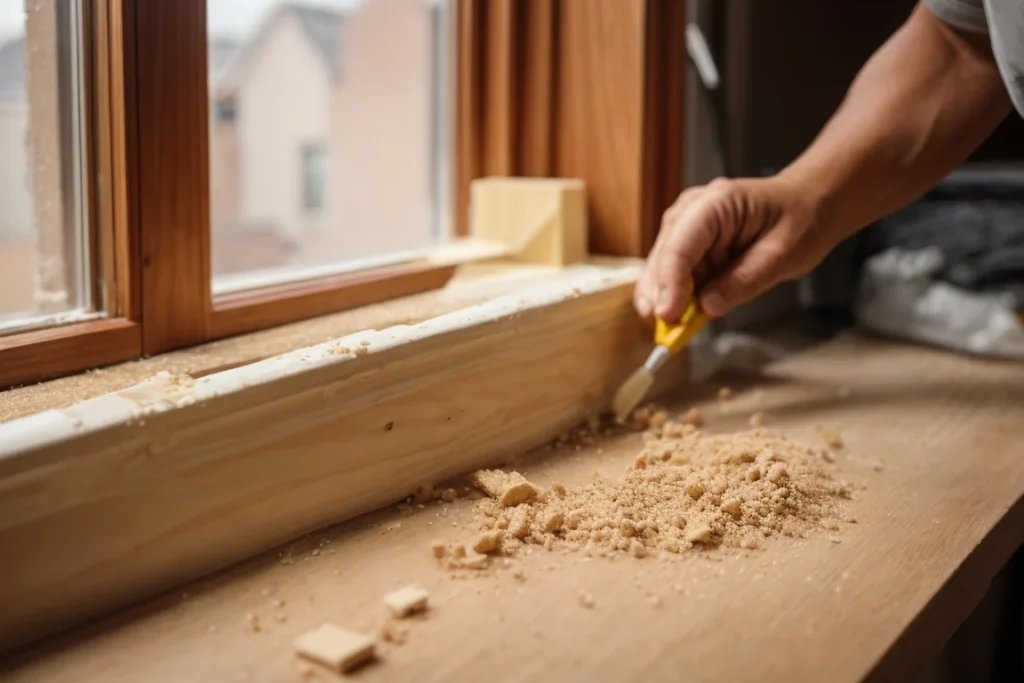
Small Holes and Gaps
A wood filler putty is an easy solution for small holes less than 1 inch wide. Look for a waterproof, exterior grade putty such as Famowood Glaze Coat or Minwax High Performance Wood Filler.
To use filler putty:
- Force the putty into holes and gaps
- Smooth with a putty knife
- Allow at least 24 hours to cure fully
- Sand if needed for a flush finish
These fillers can be sanded, drilled, nailed and stained once hardened. They provide a permanent fix for minor defects.
Large Sections and Extensive Damage
A pourable or kneadable epoxy wood filler is best for more extensive repairs involving full sections of the sill. Abatron WoodEpoxy is ideal for rebuilding window sills. It can be shaped as needed to fill cavities of any size.
To rebuild sills with epoxy filler:
- Mix resin and hardener as directed
- Pack into cavities to fill completely
- Mold into shape with a putty knife
- Allow 72 hours to cure fully
- Sand if needed once hardened
The epoxy will bond tightly to the existing wood, forming a durable, weatherproof repair. It can be drilled, sanded, shaped and painted when cured.
Replacing Damaged Sections
Replacement wood sections will be required for areas completely rotted or missing altogether. DIYers can cut and install new replacement pieces.
1. Cut New Wood Pieces
Use a table or circular saw to cut new wood to match the dimensions of the damaged sections. Match the original wood type and grain pattern as closely as possible. Pine or cedar are common sill materials.
Wear protective eyewear when cutting and ensure pieces fit into the cavities with a little room for adjustment. You can use wood glue and clamps to attach multiple boards to create larger sections if needed.
2. Install the New Wood Pieces
Dry fit the new sections in place first before permanent attachment. Use a mallet or hammer to tap them into position. They should fit snugly without gaps.
Once aligned, run a bead of exterior wood glue on all joining edges. Insert the new wood pieces and attach with finish nails or trim head screws. Wipe up any excess glue squeeze-out. Allow the glue to dry fully.
3. Patch Small Gaps
If there are any minor gaps around the replaced sections, fill them with wood putty. Use a putty knife to force the filler into gaps for a seamless repair. Let the putty dry and sand smooth.
The replaced wood pieces should now match the existing sill while providing a solid repair.
Sanding and Refinishing the Sill
After all repairs are complete, take time to properly sand and refinish the sill to protect it from future moisture damage.
1. Sand Repairs Smooth
Use 100-150 grit sandpaper to blend repairs flush with surrounding wood. Sand until the transitions between existing and repaired sections are seamless. Avoid over-sanding or removing too much material.
2. Vacuum and Wipe Surface
Vacuum up all dust and wipe the entire sill with a damp cloth. This cleans the surface for finishing. Allow to fully dry.
3. Apply Exterior Primer
Brush on a coat of high-quality exterior wood primer to the full sill. Primer helps paint adhere and prevents tannin bleed through. Allow primer to dry completely before painting.
4. Finish with Exterior Paint
Finish up with 2-3 coats of durable exterior grade acrylic latex paint. Apply in the direction of the wood grain. Allow each coat to dry fully before adding another. A quality outdoor paint protects the wood from moisture.
Preventing Future Decay and Damage
Repairing a rotten window sill helps restore its structural integrity and aesthetic appeal. However, it would be best to address what caused the rot in the first place to prevent it from quickly recurring.
Here are tips for keeping your freshly repaired sill protected:
- Install rain gutters – Properly functioning gutters divert water away from sills and windows
- Use sill pans or trays – Flashings under the sill to catch moisture and leaks
- Caulk windows – Seal all around window frames to prevent water intrusion
- Overhangs and awnings – Provide protection from rain above windows
- Consider sill covers – Aftermarket products add weatherproofing layer
- Divert sprinklers – Adjust landscape irrigation so water doesn’t hit sills
- Slope soil – Grade soil or add beds to encourage drainage away from home
- Seal with water repellent – Apply clear waterproofing sealers to sills every few years
- Monitor for leaks – Check for any cracks or openings that develop and re-caulk
- Clean debris – Keep sills clear of dirt buildup that can trap moisture
- Open curtains when sunny – Allow sunlight to naturally dry and evaporate moisture
- Limit interior humidity – Run bathroom and kitchen fans; use dehumidifiers
- Avoid damaging sills – Take care not to nick, scrape or puncture freshly repaired areas
Troubleshooting Common Window Sill Repair Issues
Repairing a rotten window sill yourself can save money compared to hiring a contractor. However, you may encounter some issues or problems along the way. Here are some potential troubleshooting tips:
Uneven or misaligned new pieces – Take time to dry fit pieces and tap them into proper position. Use shims or spacers to align. Ensure surfaces are flat.
Gaps between new and old wood – Fill minor gaps with wood putty. Cut new pieces for a better fit or use trim pieces to cover for larger gaps.
Epoxy filler drying too quickly – Work in smaller batches and mix only what you can use immediately. Adding more hardener speeds drying, so use sparingly.
Putty or filler not fully curing – Ensure products are fresh and within expiration dates. Allow full cure times listed per instructions. Mix parts at correct ratios.
Filler not adhering well – Remove any loose material, dirt or dust. Roughen slick surfaces with sandpaper for better adhesion. Use wood glue also for stronger bonds.
Visible seam between repairs – Carefully sand transitions to blend. Fill uneven areas with putty. Use grain filler on open-grained woods. Prime before painting.
Replacement wood warped or split – Allow new pieces to acclimate to the environment. Select stable, seasoned wood. Seal ends and edges to prevent moisture absorption.
Paint finish peeling or blistering – Ensure surface is clean before painting. Use primer and quality exterior paints. Apply in proper temperatures and humidity.
Rot and decay quickly returns – Address root cause of moisture damage like leaks or lack of maintenance. Keep wood protected with paint. Improve drainage.
Tools needed for repair unavailable – Rent or borrow tools like jigsaws and sanders if you don’t have your own. Shop used markets for budget-friendly options.
Repairing a window sill takes patience and attention to detail. Don’t rush the process. Follow all product instructions carefully. Seek additional expert advice if you encounter any unknown issues during your repair project.
FAQs
Repairing a rotten window sill yourself with the right approach, materials and tools. Here are answers to some frequently asked questions about window sill repairs:
What if I can’t match existing wood exactly?
Get as close as possible to the original wood type and grain pattern. Paint and primer will help blend any differences.
How do I smooth rough repairs?
Use progressively finer grit sandpaper – 80, 100, 150 – for a flush finish. Be careful not to over-sand.
What could cause bulges or humps in the epoxy filler?
Unequal mixing of the resin and hardener. Slowly stir for at least 3 minutes to integrate thoroughly.
Is rotten wood dangerous to handle?
Decay fungi are not harmful, but spores can irritate lungs. Wear a safety mask when cutting.
What do I do if sill damage is extensive?
Consider calling in a professional if damage spans over 4 feet or compromises frame structure.
How do I stop wood filler from shrinking or cracking?
Apply in thin layers, allowing each to fully cure. Use outdoor-rated products rated for minimal shrinkage.
Should I repaint the entire sill or just repairs?
Repainting the full sill helps blend repairs. Use primer and 2-3 coats of outdoor paint.
What if existing sill has lead paint?
Take proper precautions to contain, minimize and safely dispose of lead dust and paint chips.
How long will sill repairs last?
Repairs done properly with quality materials can last 5-10 years or longer before maintenance needed again.
Can I use carpenter’s wood glue for repairs?
Use an outdoor-rated waterproof wood glue specifically designed for windows for exterior applications.
Conclusion
Repairing a rotten window sill brings this important architectural feature back to its original appeal and function. With the right materials and proper technique, it is a home repair project a motivated DIYer can absolutely take on themselves. Just remember these key steps:
- Carefully assess damage and remove all rotten wood
- Square up cavities and clean repair area thoroughly
- Use wood filler putty for minor repairs
- Rebuild larger sections with epoxy wood filler
- Replace missing pieces with new wood
- Sand everything smooth and flush
- Apply exterior primer and paint
- Address root causes of rot and decay
While it takes some effort, repairing and restoring a damaged window sill is tremendously rewarding. Your windows will once again be protected from the elements while adding beauty and architectural detail to your home’s facade.